Saturday, July 22, 2006

So YOU Want To Dye Roving? Part 1

So! I dye a lot of roving, why not write a tutorial about how to do it? =) This is really just for my own amusement. Take it however you want.

Step One:
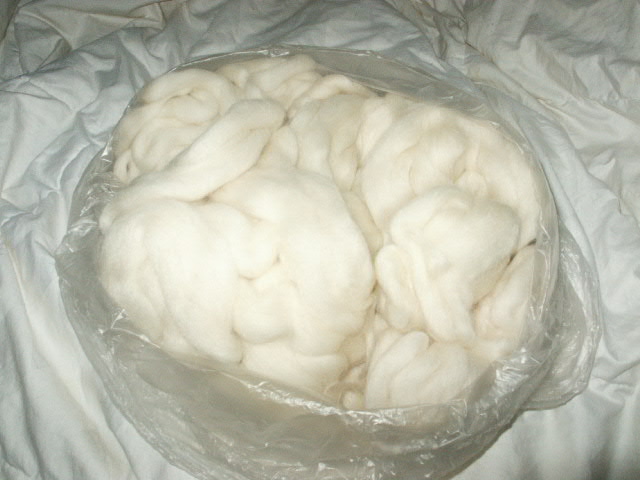
You need some roving. Roving, for those of you who do not know fiber terminology, is a strip of wool that has been processed in order to use for spinning. (This is about as simple as it gets) You can really use roving of any color you want, white, brown, striped, etc. Depending on the natural fiber you use, you'll get colors of varying tones! I use white. =) Next batch I might try black and white striped.


Step Two:
Knot strips of roving into ball-type thingies. Basically, wrap the strip of roving around your hand until you have a tail of about 6 inches or so and then tie that around what you wrapped around your hand.

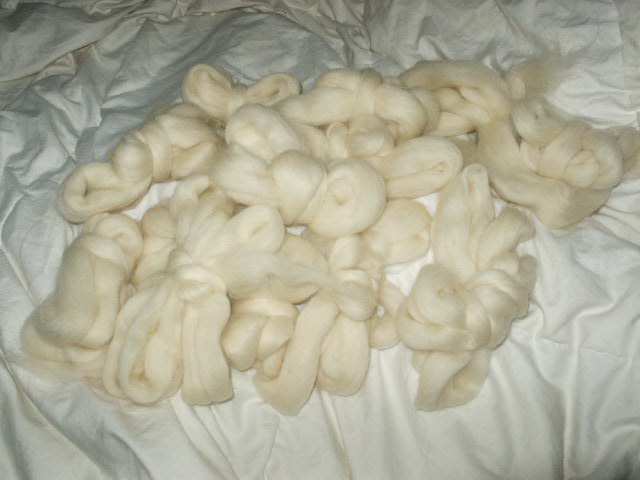
I have 13 balls here. Plenty!!!

Step Three:
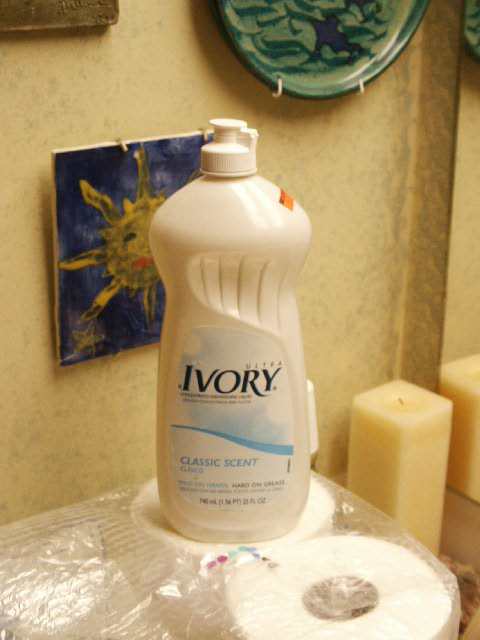
Now you're going to wash the roving, let it soak, give it a nice little bath. I like to let it soak in Ivory soap, it's gentle and mild. Perfect.

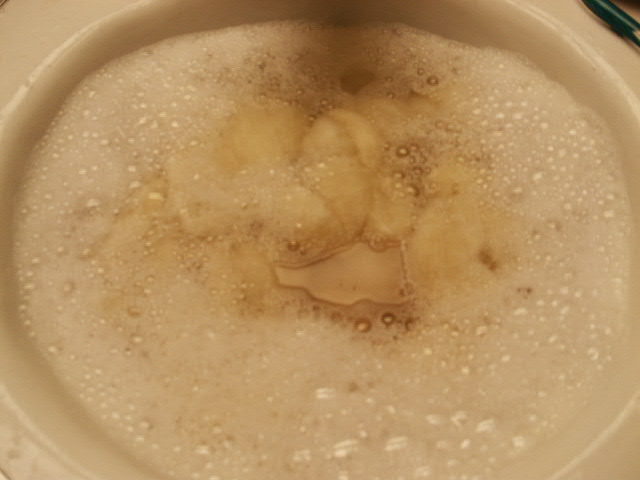
You'll let the balls soak for anywhere from half an hour to an hour in soapy water. You'll want the water to be hot, but not TOO hot. You also want to avoid using a lot of force on the little woolen balls because otherwise they'll felt and that's no good!! (At least not in this case)


Step Four:
This is the point where you'll get your utensils and supplies ready.
Utensils and Supplies:
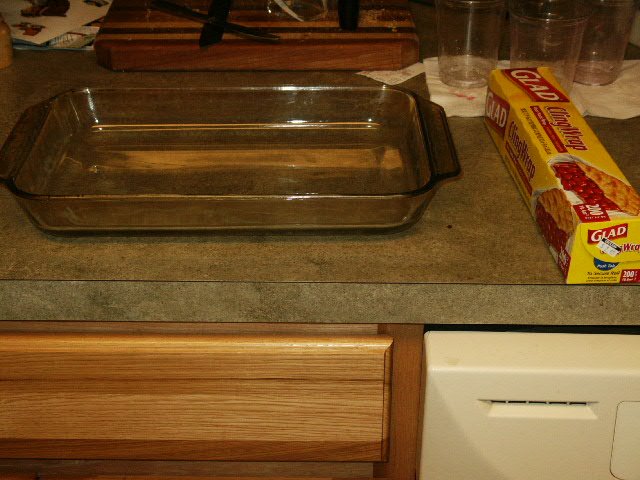
1. Glass baking dish -- avoid using metal or something that could change color with dyes (i.e. white). Unless of course, you don't care about a dish getting dyed crazy colors
2. Saran Wrap or some other plastic wrap
3. Plastic cups
4. A plastic knife and spoon if you'd like
5. Paintbrushes if you'd like (I've found the sponge kind work best, plus they don't get dyed the color of the dyes)
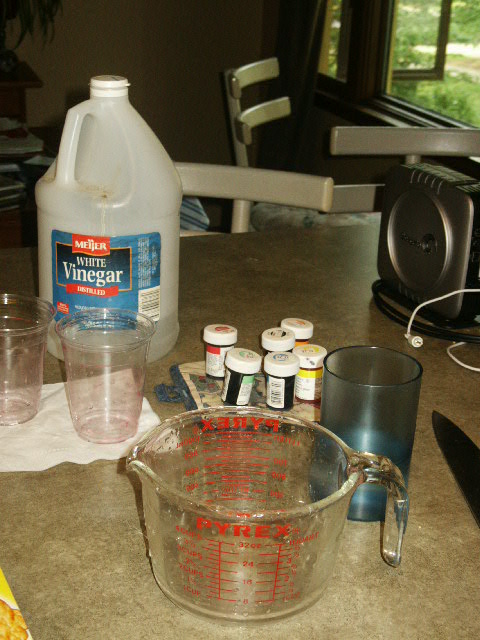
6. Large bowl or measuring cup that can hold ~4 cups
7. White vinegar
8. Food coloring of your choice
9. Paper towels
10. Something to protect your hands
11. Microwave
12. Ziplock bag
13. Newspaper and a towel


Okay, it's a long list, but it's all stuff that you should just have lying around the house.

Now what you'll do is mix about 1/4 cup of the vinegar with between 3 and 4 cups of water. Mix those two things together and then pour the water/vinegar solution into a plastic cup for each color that you want. Take your plastic knife or spoon and then mix the colors together. Note: You will need a lot of dye for dark colors. I learned this the hard way. My first yarns were all pastel colored. It bummed me out a lot.
So you have your colors and you're ready to dye your roving!!!

Step Five:
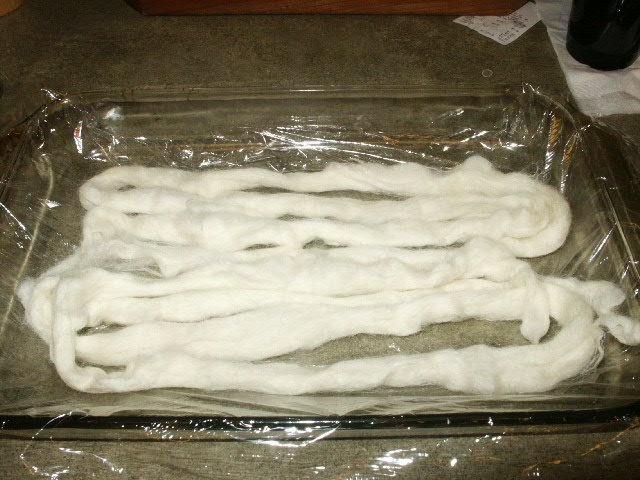
Lay Saran Wrap in your baking dish


Step Six:
Now you're allowed to drain the water from the bath that your roving balls are soaking in. Take one, two or three balls of roving at a time, rinse them out (gently!!!!), squeeze them out (GENTLY!!!!) and then take them to your Saran Wrapped baking dish.


Step Seven:
Now you can officially start the dyeing process!

IMPORTANT: MAKE SURE THAT YOU ARE WEARING GLOVES! You don't want your hands to become purple or whatever color you're using (or maybe you do!).

Take a cup of dye. You can do this a number of different ways now, depending on what you like. Some people use squeeze bottles like the ones that ketchup come in, others like to use paintbrushes, others like to sprinkle on dye with spoons. Me? I like to just pour the dyes right on there. I take a cup, put my hand over it, and let the dye run between my fingers onto the roving.


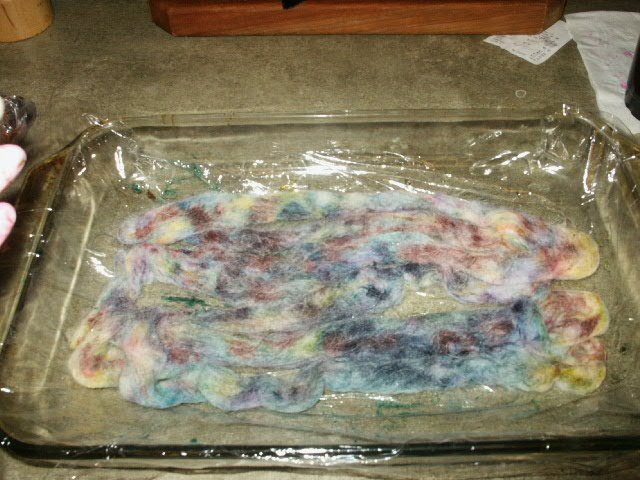
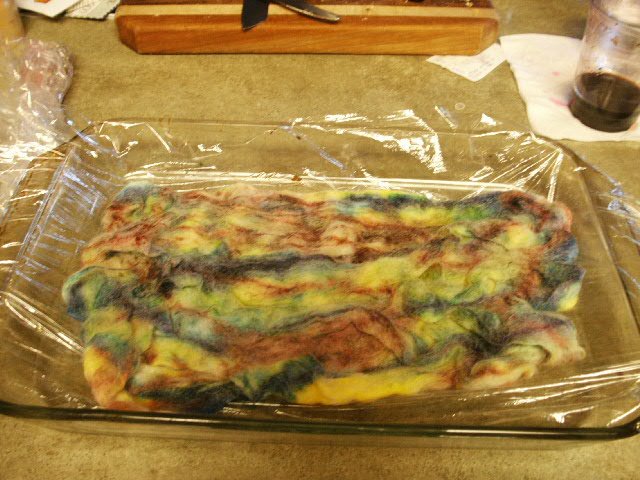
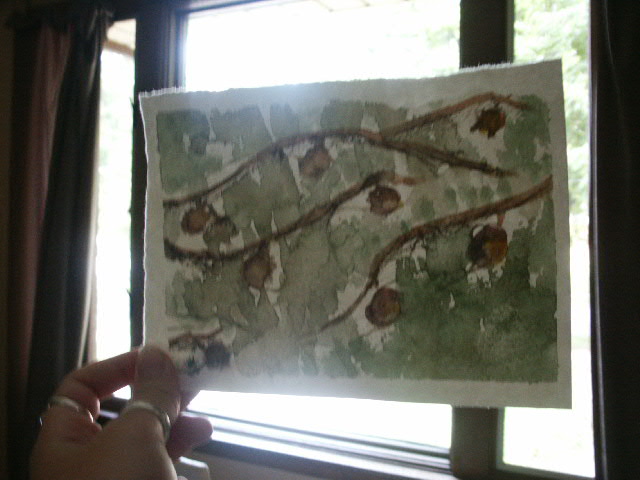
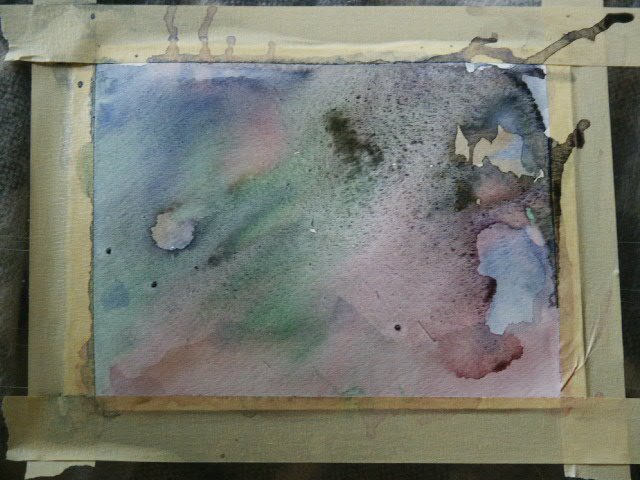
This is what the roving will look like after you've gotten it all dyed up. =)

Step Eight:
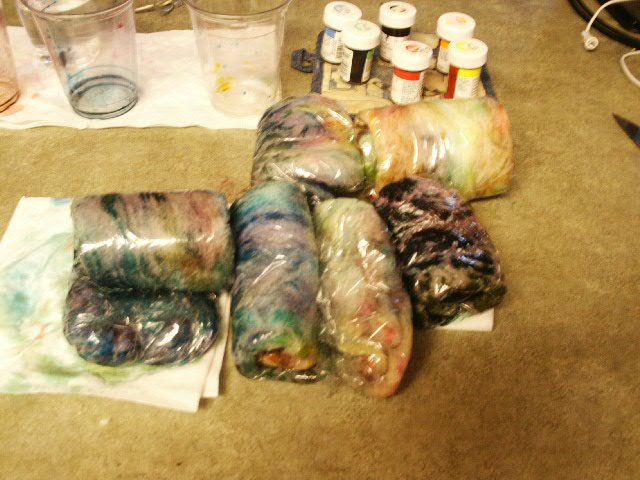
Once you have your roving substantially saturated with dye (and believe me, do NOT be afraid to really soak it up to the point where dye is oozing from the wool) you will roll it up into a nice little cinnamon bun (but don't eat it, please).
Fold in the long sides first, and then roll up. It should look like these...


Step Nine:
Repeat above steps as often as necessary until you are all out of roving. It's time to cook it up!

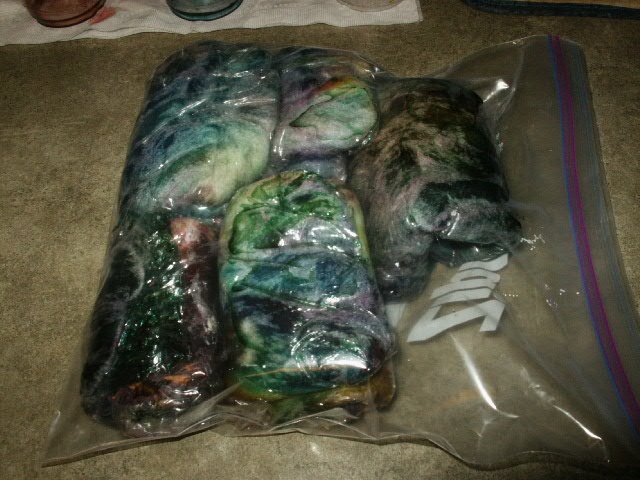
Put all of your rolled up roving into a Ziplock bag. Get out as much air as you possibly can from the plastic bag and seal it well.

Pop it into the microwave for about 5 minutes, a little longer if you don't have a really powerful microwave (I have a very powerful microwave). Let it "cook" for about 2 1/2 minutes, stop it briefly and WITH OVEN MITTS (very, very important) flip the bag over and let it continue to cook.
If the bag pops, don't worry.
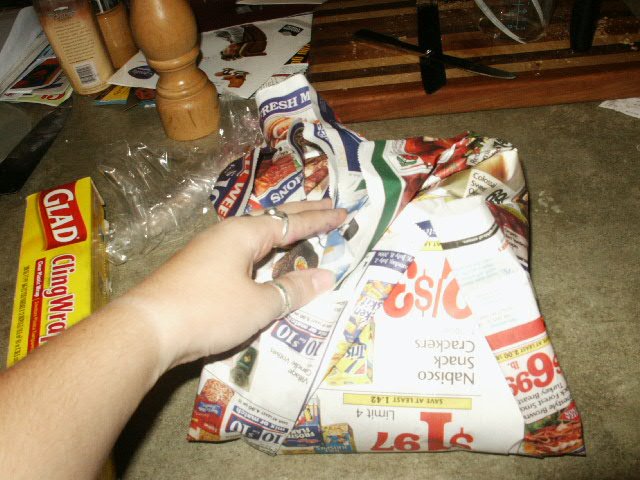
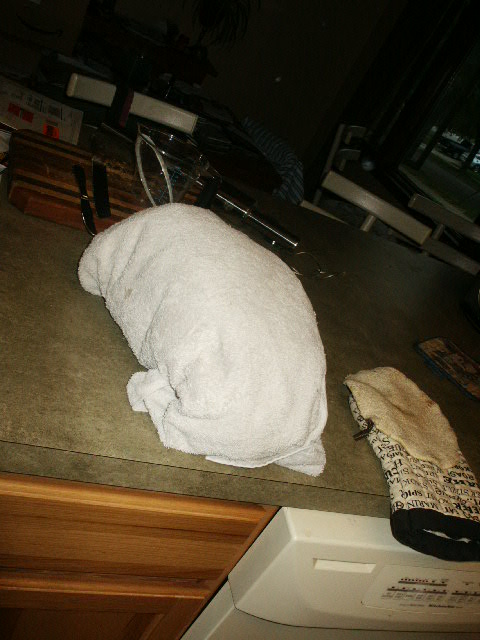
Have some newspaper ready for when the "cooking" is done. Take the bag of roving from the microwave WITH OVEN MITTS and wrap it in the newspaper.


After wrapping it in the newspaper, wrap it up in a towel, then put it in a nice, undisturbed place to rest for about a day until it cools down.


What to do after the roving is cooled will be continued tomorrow of the day after next once my roving is all nice and cooled! =)
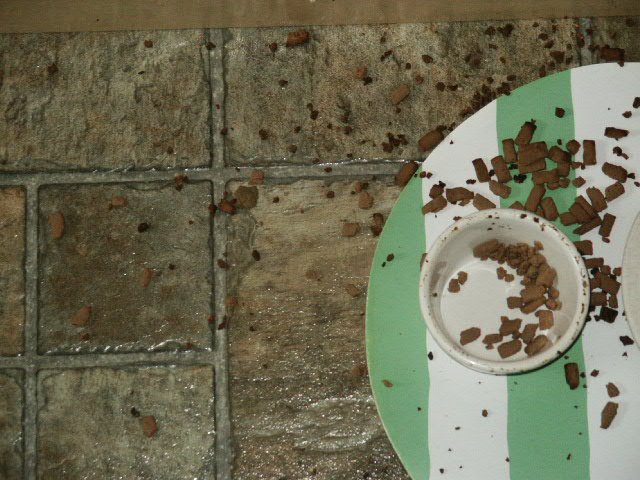

And finally...

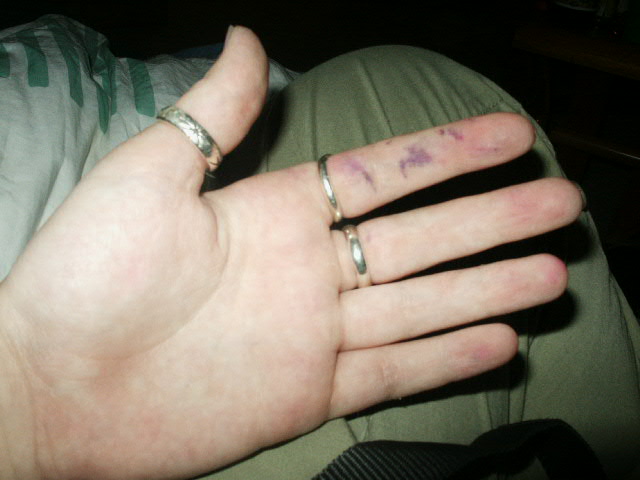
This is what happens when you don't wear gloves. And this just happened while mixing dyes. Silly, silly me. =P

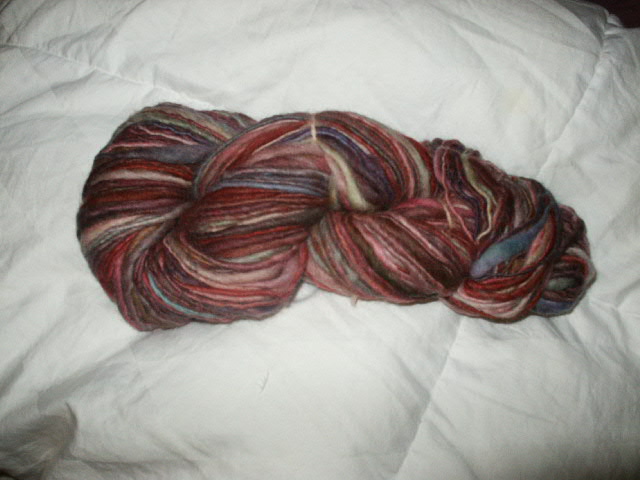
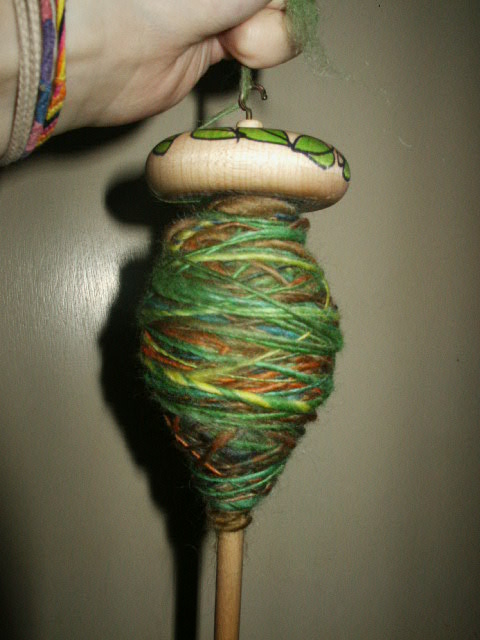
And very, very finally!!

This is my crazy psychedellic yarn that came from the wool that I took a picture of on the spindle last week or so. There's about 75 yards of it.

Non- Yarn/Knitting Post!

Well! Saturday has proved to be a crafty day. =)

John and I got up this morning at around 8 to go and sign the lease to our new apartment. It didn't take very long...15-30 minutes tops. So we came back home, I was really tired and went to sleep again, slept until noon (oh noes!). Anyway, when I woke up, I went out into the living room and saw John sitting on the couch working on the model ship that he purchased yesterday at Hobby Lobby (he had also gone out during my nap and bought all the paintbrushes and paints that he needed!).

This is the ship to be technical about it.

And here are some pictures of John working on it!


So I sat down with him and decided, well, might as well do some stuff myself!

I started out modgepodging (did I spell that right?) a small table with Jones Soda labels.
Story time!!!
I started collecting Jones Soda labels back when I was a senior in high school, or maybe the summer between graduating high school and my freshman year of college. In any case, it's been about 4 years. I have a TON. I used to only drink Jones (now I don't really like it a whole lot. Haha, go figure). The past few years I've decorated my walls with them, but I started to think that maybe I wanted to do something different with them (plus it was a major pain to continuously put up and take down the labels). So I decided that I would decoupage something with some of them. How about a table?!?


Voila! I'm still considering doing something with the legs...I'm not sure if I have enough labels to do all three legs, if anyone has any ideas, I'm willing to accept them!
I'm not completely done modgepodging the top either, I'm putting a lot of coats of it on top to try and smooth it out a bit. Overall though, I love it. It will make a pretty awesome table for...something!

And in addition to that, I painted some more watercolors!

I painted this a couple of weeks ago actually

Daisies? Something? I'm not quite sure what they are

Bright flowers

Something tree-like?

And this, is basically nothing. I realized while painting it at one point that it looked like Northern Lights, so I tried to go in that direction...but failed. Oh well. There are still some pretty colors in it.

And finally, an art-like photo that I took earlier today in between layers of modgepodge:

It's my cat's food bowl. =) Haha. We recently started feeding her wet food in order to try and fatten her up. She's old (17 to be exact), her teeth aren't so great, so it's hard for her to eat a lot of her dry food (though she still does). Anyway, she LOVES the chicken kind, and when you feed her the chicken kind, she goes NUTS. It's like catnip or something for her. Anyway, if you can picture Cookie Monster eating cookies, this is how my cat eats her food. Today she got it ALL over the place and I couldn't help but take a picture of it. Anyway, lo and behold, the picture is actually kind of artistic! Haha, I couldn't resist posting it. =)

And here's a picture of the culprit of the previous picture...probably dreaming about her dinner. =)

Anyway, I'll probably end up dyeing some more roving tonight, so there will probably be more pictures of wool in the near future!!!!

Friday, July 21, 2006

Mittens In July

So I completed these in about a day...maybe two. I knit mittens really fast. Too fast maybe.


And just for kicks:


The mittens! Trying to kill John...or something. I'm not really sure what's going on, but he looks frightened.


And me, modelling my mittens! (And covering my face! Heehee)

And so that you all are aware, the yarn that made these mittens came from

Yes! That is right! My favorite skein that I have dyed and spun up myself thus far. =)

The mittens themselves are a little...off. Both pairs tend to be really bulky at the bottom, and a bit thin at the top and the thumb just due to the unevenness from spinning. But I'm really happy with them. They'll be super warm by winter for sure. At first, I made them a bit bigger than they actually are, and was considering lining them with fleece, but...that would have made them REALLY warm. Like, venturing into the Canadian tundra warm. Haha.

Anyone want some mittens? If you say yes, I might make you some for Christmas.

In news completely unrelated to crafty and arty stuff, I have an apartment. Huzzah!

Sunday, July 16, 2006

New Creations!

So it's been a couple of days since my last post, and in those couple of days, I've done a LOT! I've done some knitting, some spinning, some plying...all sorts of stuff!

First, I would like to share my hat with you all. It is my "Chemo Hat"
Unfortunately, it doesn't really fit me. I have a big head, what can I say? I didn't follow the pattern exactly either, but I really like the way it turned out (with the exception of some minor/ugly mistakes), especially the top.
So without further ado, some pictures of it!


A bit washed out from the flash

A bit darker than the yarn actually is...but eh, who cares?

And my lovely Vanna, er...I mean, John, modelling the hat. =)

Now in the meantime, I've done quite a bit of spinning as well, and the wool spun includes my psychedellic green wool! =D Here is some of it spun up:


I actually finished it and I plied it so that it's nice and thick. There's about 72 or so yards of it. Again, I have no idea what I'm going to do with it. It's really thick in some places. I'm thinking a scarf probably, there's not a whole lot that you can do with 72 yards of yarn.

I'm currently working on another double ply yarn right now. It's black, nothing fun or colorful. I'll probably dye some more wool this week and get a crackin' on that. Either that, or I might start working on my Japanese room divider, or my bottle cap flower pot, or maybe something completely different...like soap! I'm looking forward to making my soap. =D